
Two weeks ago I published my first multi-page comic, Terminal. It took me three months to make it, and I’m proud of what I’ve made. I’ve been reflecting upon the project since finishing it, so I thought I’d share my process and what I learned.
The Original Idea and Inspiration
Terminal started with the idea of the first page – an elevator plummeting down a wall. I wrote that idea down and kept expanding it into a little snapshot of a story.
My visual references for the project were a mixture of manga and film — specifically, the manga APOSIMZ and Ghost in the Shell and the films 2001: A Space Odyssey and Mad Max: Fury Road.


My Intention and Goals
My intention with making Terminal was to take an idea and make a multi-page comic out of it. I didn’t want to take on an on-going story or a something longer than a dozen pages because I don’t have the confidence or ability yet to complete a project that big. From past creative projects, I know it’s better to start small and build up to larger projects over time.
All of my comics up until Terminal were comic strips or single pages. So I wanted to learn as much as I could making Terminal – from panel layout to dialogue to publishing it online to printing it.
My goals were pretty simple: finish the comic, publish it online for free, and print a few copies.
Making Terminal
Terminal started with writing the script, which was nothing more than me jotting out some thoughts.

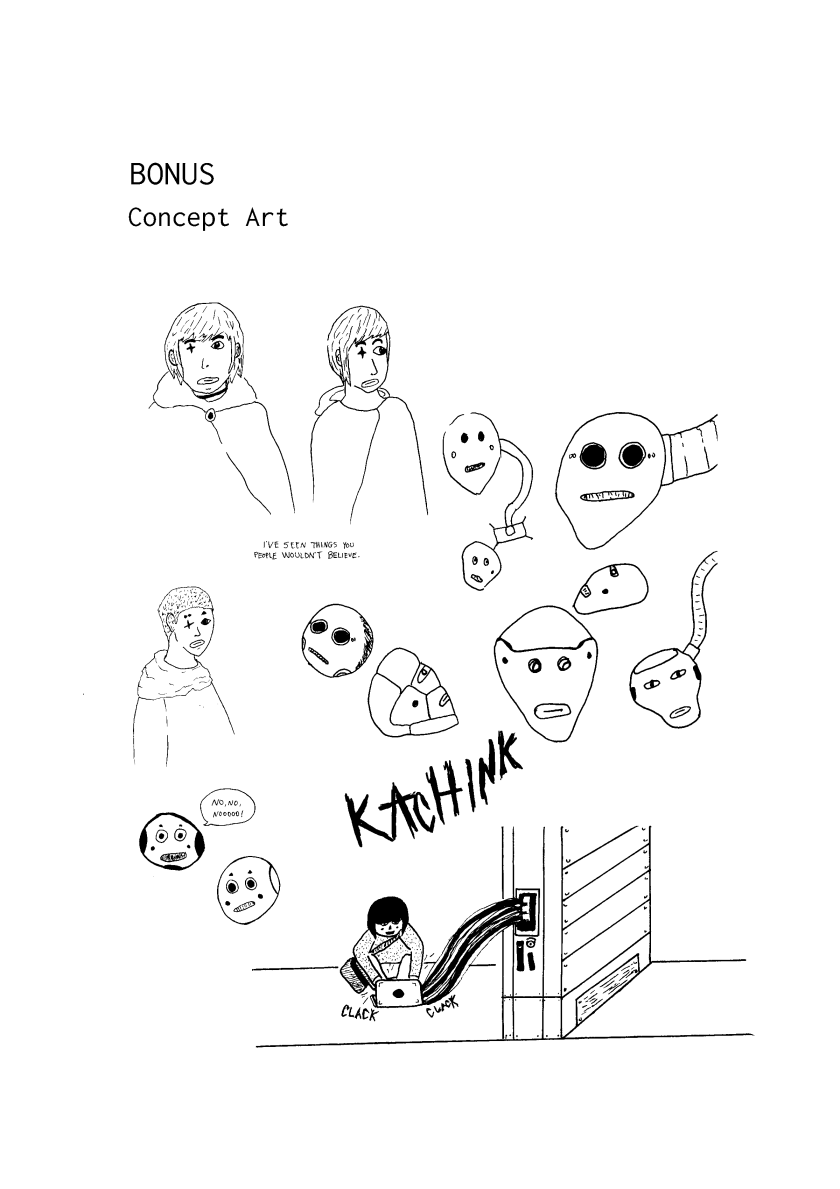
Once I had the idea somewhat fleshed out, I doodled out concept art to try to figure out the visual style and character designs:
Next up was to create the thumbnails. I use this paper made by Canson that has four small pages per sheet with space for notes. I’ve been using it for my next project too, and I think it’s pretty nifty.


I create thumbnails to get a sense of the panel layout and what each page will accomplish. It also lets me easily see multiple pages at a given time to get a sense of pacing and feeling.
I ended up with nine pages, which felt like a great length of a comic to start with.
Once I the thumbnails were done, I drew the full-size comic pages in blue mechanical pencil and then inked them. I don’t like erasing the pencil because it tends to fade the ink, so the blue pencil is easy to edit out after the page is scanned.

I used this Canson Fanboy Manga Art Boards paper for the project. They’re roughly B4 paper size at 10″x14.25″. It’s nice paper, and it has guidelines to make drawing the panels and measuring things easier. Here’s what an unedited scan of one of the pages looks like:

I figured, “I love manga and want to make comics similar to manga, I should use this paper.” This was fine until I got to the point where I wanted to print the comic. At that point, it turned into a headache because US standard paper sizes are different than Japanese paper sizes. I was able to trim the printed copies down, but I’m going to stick to US paper sizes for future comics. Lesson learned: plan for print size before choosing and buying paper.
For inking, I drew the first two pages with a dip pen with a G nib. I’ve practiced with the dip pen, but never with the size of a full page. It was infuriating because I would smudge ink before it dried and had to carry my supplies around with me. I decided to switch to using Copic Multiliners for the pages that followed because they dry quickly and are easier to use. The change is not super noticeable, but it was an important lesson to learn to pick a set of tools for a project and stick with them.
Here are my notes for the sizes of liners I used for the project, including the panel and balloon pens:

I’d like to practice more with the dip pen and nib in the future, but I’m sticking with liners due to the speed at which they dry for my next project.
It took me a few months to draw and ink Terminal because I only worked on the first five pages on Saturdays. I spent the weeknights and Sundays studying and drawing to try to develop my skills and style more. I picked up the pace and started working on pages on weeknights once I felt more confident in my ability and had built up momentum. Future comics should go much quicker than Terminal.
Once I finished inking the pages, I scanned them and brought them into Clip Studio Paint to clean up the pages and add screentone (the black dots of varying sizes). Clip Studio Paint is a great program, even just for the last part of the process. I chose to stick with black and white with screentone for Terminal because I don’t know enough about color and color theory yet to feel confident with coloring a comic. Also, I like the look of black and white comics.
I will say that using screentone presents its own set of problems when exporting the pages digitally for the web. The dots can get distorted when the pages are exported at smaller, optimized sizes (i.e. the moire effect). I’m thinking I might go for using different shades of flat grays for my next comic to avoid this problem and try something new.
With the pages finished, I printed the comic and prepared for release.
Print Production

I’m a member, volunteer, and huge fan of the IPRC, a Portland non-profit that has resources for laser printing, letterpress, risograph printing, and more. The IPRC is where I would go on Saturdays to draw and ink the comic, and it’s where I printed the copies of Terminal. It took me a full day with the help of other folks there to figure out how to print the comic. The IPRC has a ton of supplies for making zines and comics, which I was able to make use of. I also learned a bunch about using InDesign and printing. I’m really happy that I took the time to explore printing the comic on my own instead of sending it off to a printer because of how much I learned. It was so cool to hold the first printed version in my hands.
Also, Jessica Abel’s diy: making minicomics guide was so incredibly helpful. I hihgly recommend it if you want to print your own comics or zines.
I ended up printing nine copies of Terminal on tabloid size pages (11″x17″, 8.5″x11″ when folded in half). The larger format felt nice, as it showed off the art instead of compressing it for a smaller page. I might try a smaller format for future comics to lower the production cost.

Speaking of cost, each comic cost $1.12 to print. That’s for grayscale printing at the larger size. Not too bad!
Here’s a bunch of the things I learned printing Terminal:
- Plan for what size the comic is going to be printed at before starting to actually make the comic.
- Bring a .tiff into InDesign, not a .png.
- Print at 600 DPI with uncompressed data being sent to the printer
- Saddle-stitched comics need to have a total page count in multiples of 4. (I included some bonus pages with concept art and the script to reach 12 pages.)
- Experiment with using a thicker and alternative paper color for the cover page. (I didn’t do this for Terminal, but I want to for my next project.)
Release
With the comic totally done, I stayed up late preparing to release it to the world. I went into this knowing a few things, which are important to share: I don’t have dozens or hundreds or thousands of fans, and I’m very new to making comics. My art skills aren’t that great, and it’s my first comic. I’m not going to be an overnight success, and this isn’t the most amazing work in the world. It’s important for me (and any new artist) to be realistic with themselves about where they are at with their ability and audience.
Knowing all that, I expected just a handful of folks to read the comic upon release. That’s pretty much what happened, and I’m so incredibly grateful for the people who read the comic and ordered a printed version.
I published the pages of the comic online here on Journal and on my Tumblr. I put the PDF and CBZ digital versions on Itch and Gumroad for pay-what-you-want. And I put the print version for sale on my Big Cartel shop. I want to make my comics as accessible as possible, so releasing the digital versions for free is important to me.
I sold four copies of the printed comic, which was exhilarating. Shipping them out was a lot of fun but surprisingly expensive. As I ship more goods, I’m sure I’ll figure out ways to reduce the cost of shipping.
The Itch and Gumroad digital versions have no downloads, but that’s okay. I’m hoping those platforms will be a good long-term place for releasing future digital comics.
I’m not entirely sure how to get the word out about a project other than sharing it on social media and here on my journal. I think growing my audience will just happen by consistently making and releasing comics and growing as an artist, which is my plan.
My Feelings
I’m proud of Terminal, and I’m proud of myself for having finished it. I learned so much that I’ve already started applying to my next project. Having dabbled with creative writing, filmmaking, and now comics, I really feel like comics is my thing. I’m able to have complete creative control and tell stories visually. Most importantly, I truly enjoy making them from start to finish. I’ve got a long way to go still, but I’m going to keep doing my best to improve and share what I learn along the way.
What’s Next

The day after I finished Terminal, I started working on my next comic. It’s called Lunar Space Colony, and it’s an adaptation of a short story I wrote in 2017. It’s about a young woman who starts a new job on a colony that orbits the Moon. It’ll be quite a bit longer than Terminal, probably ~32 pages. I’m thinking that I’ll publish Lunar Space Colony online in parts and then collect all of those parts into a print version. My goals with Lunar Space Colony are to tell a more complete story instead of just a vignette and continue to improve my art skills.
Thank You
Thank you for reading Terminal and my retrospective on it. I truly appreciate your support. It’s time to get back to working on Lunar Space Colony!

Love this!!!
LikeLike